Build Private
To build your Tree:
- Open your Checklist Tree. Your Tree appears.
Initially, a one-branch tree is displayed. A message appears inside the branch inviting you to name your first checklist:

- Press the E (E for Edit) key of your keyboard
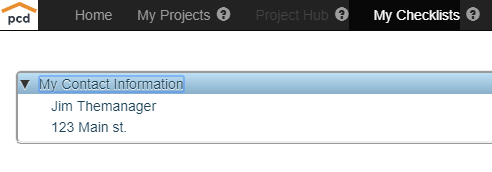
- Enter a name. Your First Checklist, named My contact Information, is created.:

Thereafter, use the Checklist Build Commands:
- Select any Item, from any level (open branches, as required). To open (close) a branch, click ⯈ (⯆)
- Execute one of the Builder commands, from the palette of just 6 commands, below
- Repeat 1, 2 and 3.
Checklist Builder Palette
Command |
Shortcut Key |
Result |
Add Before |
b, B, alt+B |
Inserts an item immediately above the selected item, same level, with default text new_node_before. Use the Edit command to replace the default with your text |
Add After |
a, A, alt+A |
Inserts an item immediately below the selected item, same level, with default text new_node_after. Use the Edit command to replace the default with your text |
Add After, Indented |
i, I, alt+I |
Inserts an item immediately below the selected item, indented one level, with default text new_node_indented. Use the Edit command to replace the default with your text |
Edit |
e, E, alt+E |
Opens the text field of the currently selected item for edit, selects the entire text. Click anywhere to keep the selected text before starting to type, otherwise your first keystroke will replace the entire text. Press the Enter key when done |
Delete |
d, D, alt+ D |
Deletes the currently selected item |
Drag & Drop |
- |
Move & Reconnect whole branches |
Share (special, non-build) |
s, S, alt+S |
Submits your checklist for sharing. The first level branch must be selected. pROcUREdOG periodically conducts evaluations of checklists submitted for sharing. Accepted checklists are addded to the public collection, possibly with alterations. |
An alternative to the shortcut keys is to select commands from a context menu. To open the context menu, right-click anywhere near the selected item.
For example:
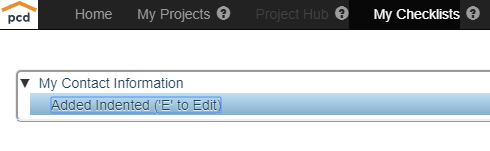
Right click. The Checklist build Context Menu appears

Click Add After, Indented. An indented branch is added below the selected branch and becomes the new selected branch:
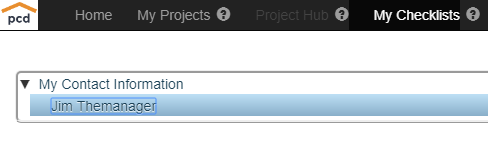
Press the E key (or right-click, then click Edit) , then enter Jim the Manager:
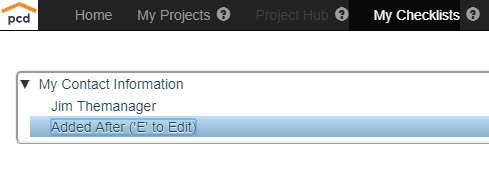
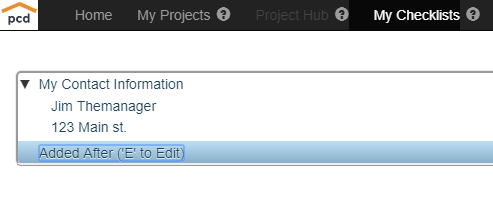
Press the A key. A branch is added below the selected branch and becomes the new selected branch:
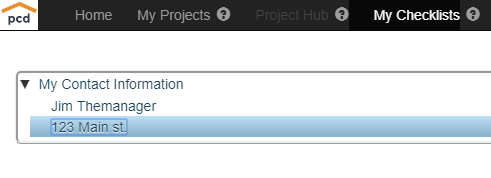
Press the E key, then enter 123 Main st.:
Select My Contact Information:
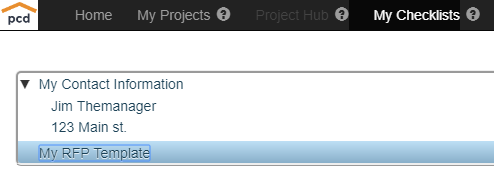
Press the A key. A (level 1) branch is added below the selected branch and becomes the new selected branch:
Press the E key, then enter My RFP Template
 :
:
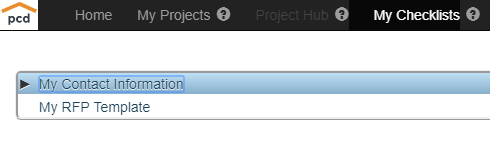
Click ⯆. The My Contact Information branch is closed, leaving the names of your two(2) Checklists:
![]()
Created with the Personal Edition of HelpNDoc: Easy to use tool to create HTML Help files and Help web sites